How To Install Linux, Apache, MySQL, PHP (LAMP) Stack on Ubuntu
A LAMP stack is a set of open-source software that works together to host dynamic websites and web applications written in PHP. The acronym LAMP stands for Linux (the operating system), Apache (the web server), MySQL (the database management system), and PHP (the programming language for dynamic content). In this guide, you'll set up a LAMP stack on an Ubuntu 22.04 server.
Start by updating the package manager cache. If this is the first time you’re using sudo within this session, you’ll be prompted to provide your user’s password to confirm you have the right privileges to manage system packages with apt:
sudo apt update
Then, install Apache with:
sudo apt install apache2
You’ll be prompted to confirm Apache’s installation. Confirm by pressing Y, then ENTER.
Once the installation is finished, you’ll need to adjust your firewall settings to allow HTTP traffic. Ubuntu’s default firewall configuration tool is called Uncomplicated Firewall (UFW). It has different application profiles that you can leverage. To list all currently available UFW application profiles, execute this command:
sudo ufw app list
Output Available applications:
  Apache
  Apache Full
  Apache Secure
  OpenSSH
Here’s what each of these profiles mean:
Apache: This profile opens only port 80 (normal, unencrypted web traffic).
Apache Full: This profile opens both port 80 (normal, unencrypted web traffic) and port 443 (TLS/SSL encrypted traffic).
Apache Secure: This profile opens only port 443 (TLS/SSL encrypted traffic).
For now, it’s best to allow only connections on port 80, since this is a fresh Apache installation and you don’t yet have a TLS/SSL certificate configured to allow for HTTPS traffic on your server.
To only allow traffic on port 80, use the Apache profile:
sudo ufw allow in "Apache"
Verify the change with:
sudo ufw status
OutputStatus: active

To                         Action      From
--                         ------      ----
OpenSSH                    ALLOW       Anywhere
Apache                     ALLOW       Anywhere
OpenSSH (v6)               ALLOW       Anywhere (v6)
Apache (v6)                ALLOW       Anywhere (v6)
If the output Status: inactive means that the Uncomplicated Firewall (UFW) is not currently enabled on your system. If you want to enable the firewall and configure it to allow specific traffic (like HTTP/HTTPS for your web server), you can do the following:
Step 1: Enable UFW
To enable UFW and allow traffic for Apache (HTTP and HTTPS), run:
sudo ufw enable
Step 2: Allow Apache through the firewall
After enabling UFW, allow HTTP and HTTPS traffic:
sudo ufw allow ‘Apache Full’
This command opens ports 80 (HTTP) and 443 (HTTPS), which are necessary for web traffic.
Step 3: Check the status again
You can verify that UFW is active and the rules are applied by running:
sudo ufw status
OutputStatus: active

To                         Action      From
--                         ------      ----
OpenSSH                    ALLOW       Anywhere
Apache                     ALLOW       Anywhere
OpenSSH (v6)               ALLOW       Anywhere (v6)
Apache (v6)                ALLOW       Anywhere (v6)
Traffic on port 80 is now allowed through the firewall.
You can do a spot check right away to verify that everything went as planned by visiting your server’s public IP address in your web browser (view the note under the next heading to find out what your public IP address is if you do not have this information already):
http://your_server_ip
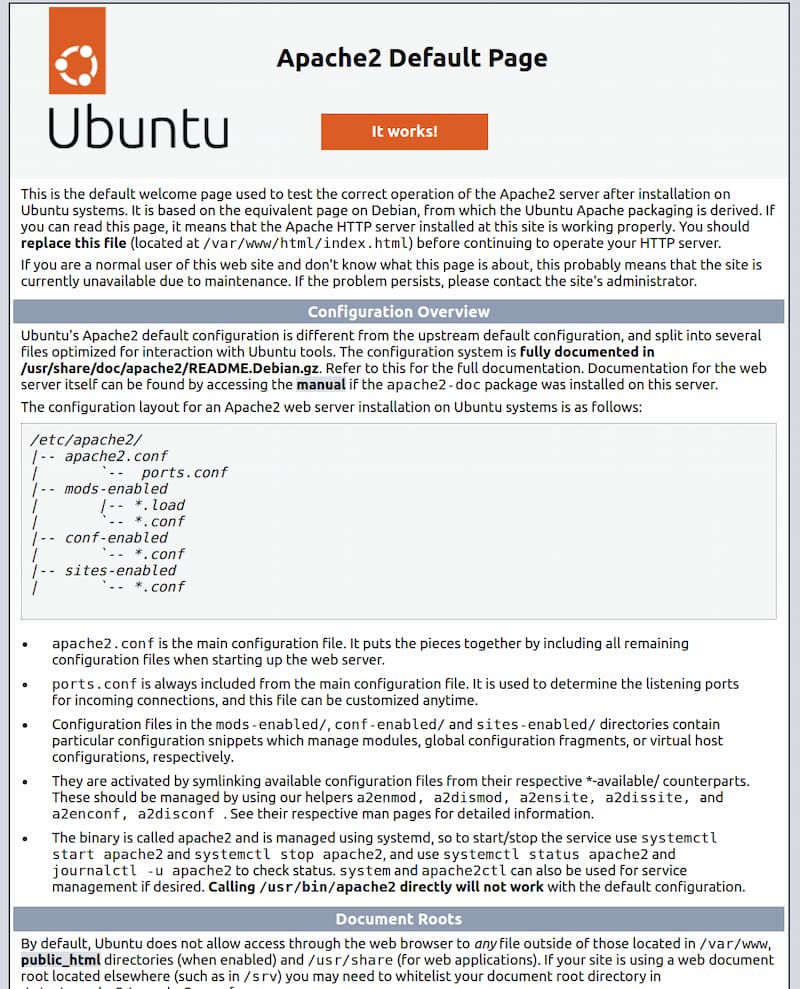
The default Ubuntu Apache web page is there for informational and testing purposes. Below is an example of the Apache default web page for Ubuntu 22.04:
If you can view this page, your web server is correctly installed and accessible through your firewall.
Step 2 — Installing MySQL
Now that you have a web server up and running, you need to install the database system to be able to store and manage data for your site. MySQL is a popular database management system used within PHP environments.
Again, use apt to acquire and install this software: